Printing Client Work @ 3rd Rail Print Space

Internship at 3rd Rail

Did a trial assisting with printing two rolls of fabric for a client at my internship today! This means I’ll be able to assist or lead with printing clients work in future on a freelance basis (meaning paid work!) It wasn’t as scary as I thought it would be, and the hardest part was actually getting the fabric lined up and pinned properly- the actual printing was easy enough once we had decided how many pulls to do (pulling the ink across with the squeegee) and got into a rhythm.

Chuffed!

Internship week 1

Internship at 3rd Rail

So I started my 3 month internship at 3rd Rail Print Space in Peckham this week! I have done screen printing before, but I’m actually learning how to do all the prep work and how to run a workshop, which is super exciting!

Some of it has been fairly basic maintainance of the space- restocking stuff, putting screens away, cleaning, ect. In my first week I have already learnt how to coat screens, line up artwork and expose it, prep the screens for printing, and clean off the stencils once the screens are finished with, ready for the next use. It’s all been super interesting! I have been shown some of the digital admin side of things as well, but I will probably need to have a go a few times to get the hang of it.

This is all crucial stuff, as I hope to run my own multidisciplinary workspace one day, so I am keen to make the most of this opportunity and learn as much as possible. I have been taking lots of notes, but I probably won’t share those here, just for privacy of the studio.

Critical Evaluation

Assessment, river project, UNIT 2

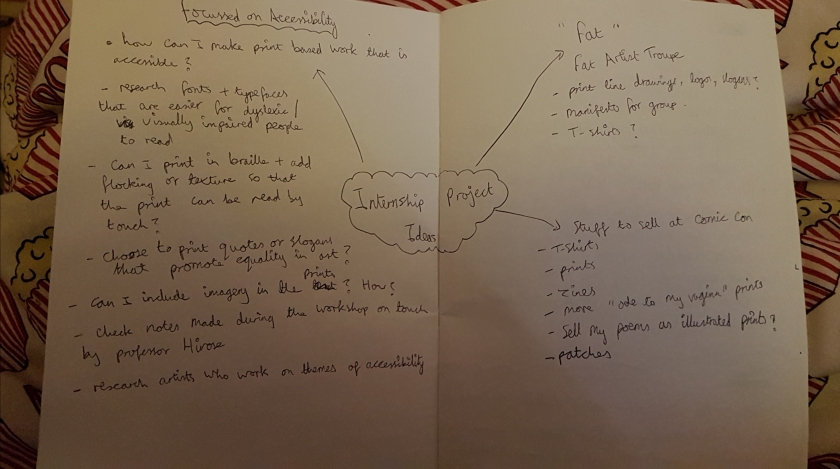
First Project Proposal 

Updated Project Proposal

Above are the two versions of my Project Proposal- the first I wrote at the beginning of the course, the second in April 2018. Even in the 6 months or so between them you can see how I found a direction, and a project to focus my time and energy on. Although I have done projects outside of my main project that focus on my personal issues as well as wider social issues (i.e. the Fat Bodies Drawing Workshop I ran as Post Grad Ambassador for Camberwell, the BPD and Me Zine, and the exhibition I set up that it was part of, Mental, and other pieces on my blog) I am interested to reflect on the direction my work has taken.

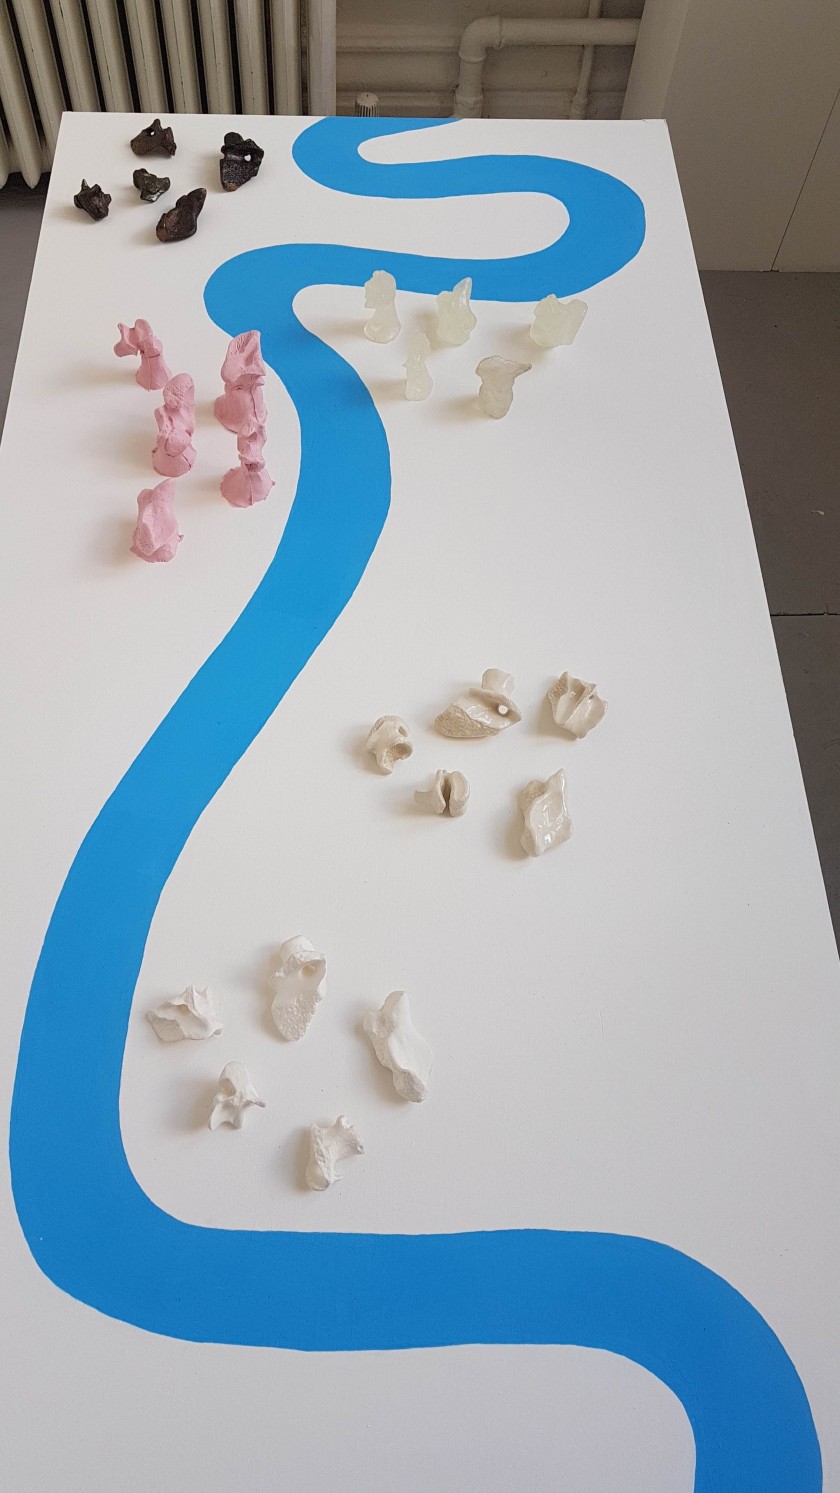
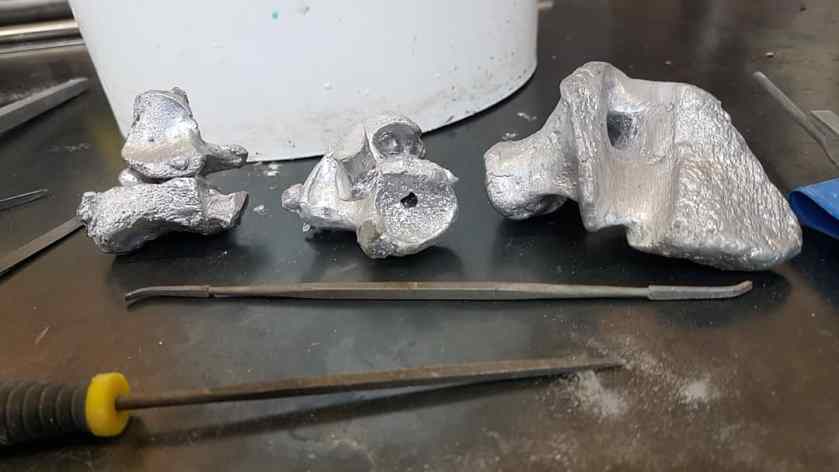
I originally thought my river project was the least personal, and most frivolous, of my project ideas- but it has turned out to be one of the most personal projects I have done, and the largest project I have ever undertaken. I think at first I thought it was just going to be something fun to explore different processes with, and give myself an excuse to use all the workshops and facilities I hadn’t got to use yet; but I realized that I am happiest when I am physically making and that the act of making is a kind of therapy for myself. I also realized that I wanted to make art more accessible, and that my explorations of these different materials could be used to make my work more interactive and accessible. This was a real turning point- as I discovered that my practical work did actually link with my theoretical research after all, and that they could feed off of and inspire each other very naturally, rather than being separate and distinct paths.

My first proposal was convoluted, uncertain, and vague, with the second one having much more of a clear path and direction, which I definitely needed- but first I needed to find that direction, which the first 6 months of the course did for me. I never drafted up another one after that, although I feel you can see my ideas forming and taking shape throughout the posts on my blog- the explorations of materials, the analysis of these materials and ideas, and the research paper all slowly revealed themselves over time and I think you can see this on the blog.

Throughout the last two years I have developed not only as an artist, with all these new processes and techniques I have learnt under my belt, but also as an activist, and as a person. I have become much more confident in myself and my own abilities, to the point where I am no longer held back my anxiety when giving presentations and talking as part of a group (at this point it’s a miracle to get me to shut up!) I managed to get the job as the Post Grad Ambassador for Camberwell the second time I applied- all because even within that first year my confidence had already swelled- and through that role I have used the position to host events (such as the Fat Bodies Drawing Workshop) based on social and personal issues I care about, and have written about these topics for their blog. I also set up my own society focussed on helping students like myself with mental health issues, because I realized one of my passions is helping others, and being an activist for disabled and neurodivergent people. I really attribute a lot of this personal growth and development to this course- being surrounded by such inspiring and supportive individuals who all genuinely care about each others work and lifting each other up really brought me out of my shell, and has made me the outspoken and confident person I have become.

Going forwards I plan on setting up a network for disabled and neurodivergent creatives alongside fellow neurodivergent and disabled artists I have met through my society, as we are underrepresented in the creative industries, and it can feel very isolating- I hope the network will provide a social outlet, as well as being a place we can share resources, tips, connections, and skills through a website and workshops/meetings/ect. I have also been looking at community engagement and school engagement based jobs in art galleries and creative institutions, as I feel I could make a difference to people’s lives through art within these roles. I think that this MA and all of the extra curricular stuff I have been doing will help me to get one of these roles, and I am hopeful for the future. I still want to make art, regardless of what I end up doing; I have been emailing foundries, print making studios, and ceramic studios around London asking for work experience/trainee opportunities/internships and I am hoping that at least one of them will allow me the opportunity to do so, given my experience with so many materials and mediums. I have also been looking at artist awards and residencies I want to apply for, so that I can get some funding and space to make new works.

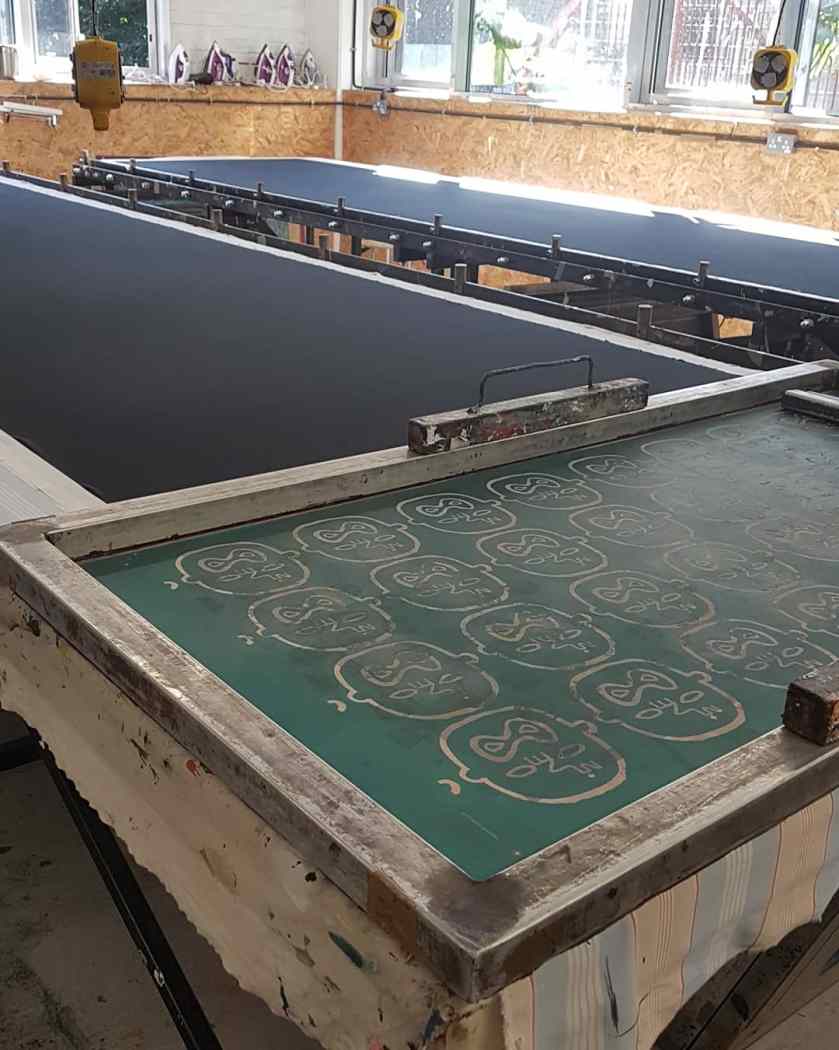
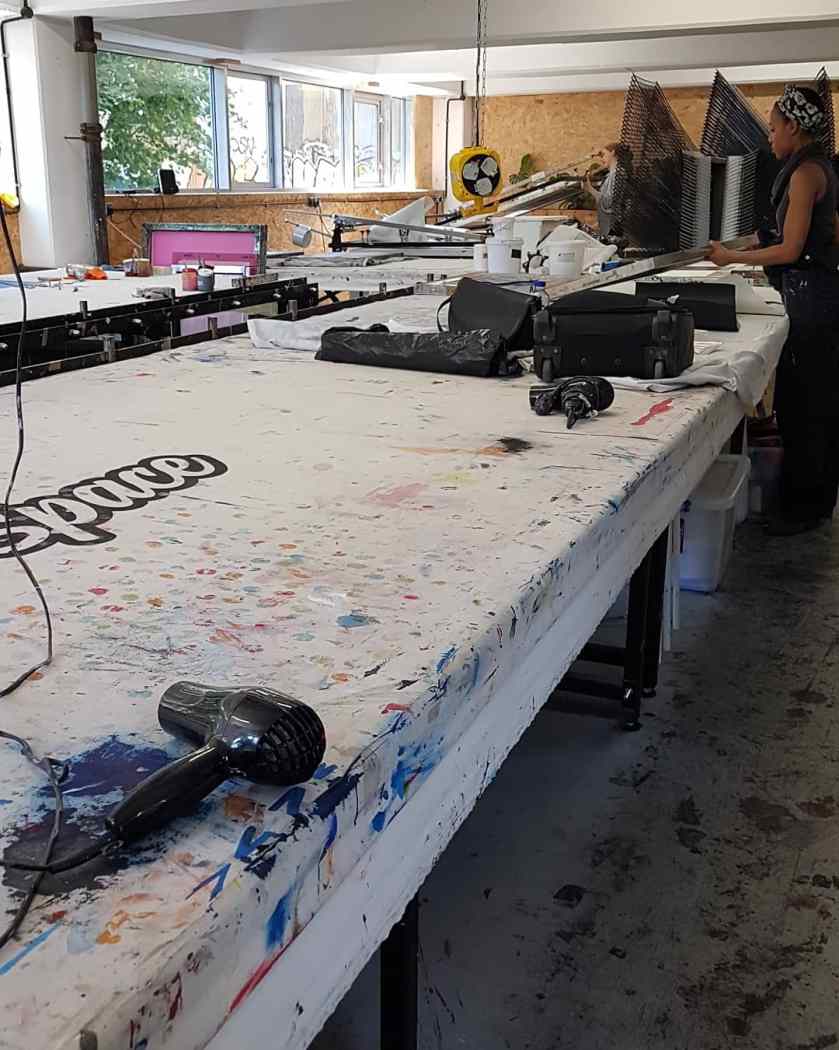
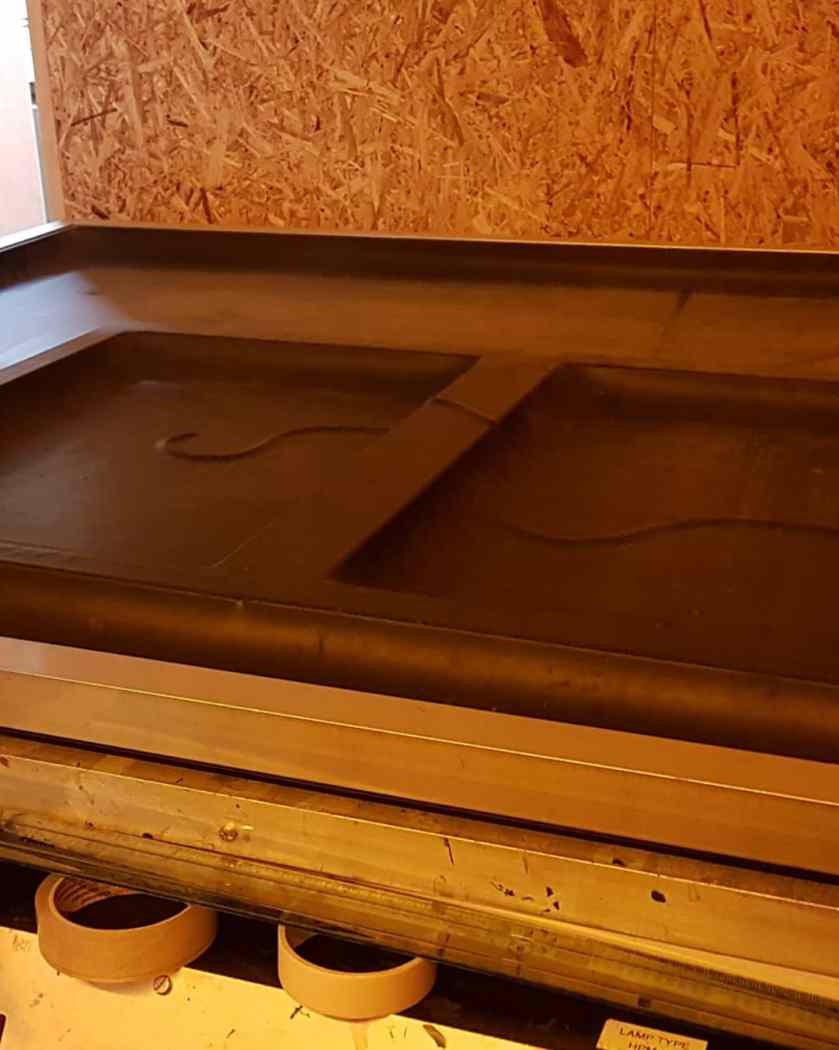
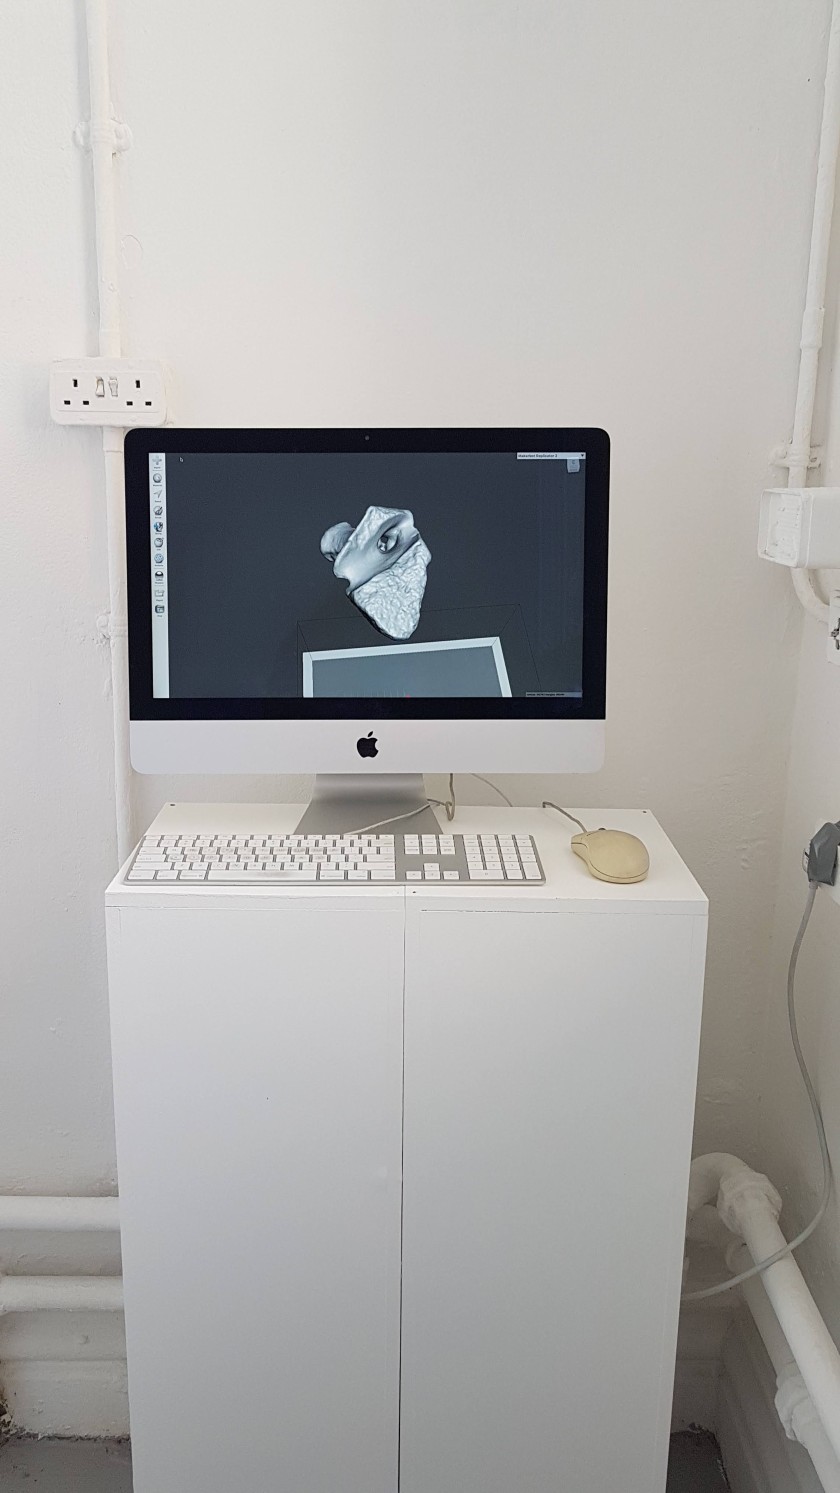
On top of this I have also started dabbling in more digital art such as making short videos (Like the I Can’t Help the Way I feel, My Fat Body film) and also using 3D programs such as Meshmixer and Blender, as they are free and open source. I will need to eventually save up for a better PC for this, but right now my laptop is good enough. I also have the tools to do linocut and woodcut prints, and a scanner/printer so I can still make print based work, and I have a few small zines planned that I want to make. I bought too much clay in ceramics, so I am considering making smaller scale sculptures and jewelry- there is a ceramics studio in Peckham near to where I work that offers an affordable monthly subscription, so I could potentially fire and glaze anything I make there. They have put me on their waiting list for a training opportunity which would allow me free access to the studios and free reign on their glazes in return for 7 hours of work a week, where I would be trained in how to run a ceramics studio as I work.

If I could have done anything differently I might have tried to come in more often- there were a few weeks and even months here and there where I struggled to get myself in to make work- however looking back on it I can see that these dips corresponded with dips in my mental health, which is something that isn’t always in my control, so I have no regrets. I committed myself fully to this course, and I hope that comes across in my blog, and in the work that I have produced. I only wish I could have afforded to work less hours so that I would not have always been so tired and would have been more productive, but such is the life of a working class artist. I tried my best to overcome my low mood, and for the most part persevered, and although I wish I had more time to spend in some of the workshops I think I have used my time fairly well, and this shows in the body of work I have made.

Overall this course has not only taught me more about the art world and all o the mediums I have learnt to utilize, it has taught me more about myself as person, and what I am passionate about and enjoy doing, which is incredibly value. I joined this MA so unsure of myself, my abilities, and my art, and now I feel like I really know myself and what I am capable of, and it is so so much more than I imagined. I just want to say how grateful I am to Jonathan and to my classmates for encouraging me to be my most authentic self, which is something I never thought was possible.


Work in the Final Show

Assessment, Exhibitions, Photographs, river project, UNIT 2, Videos

20190703_15483720190703_154846

(I took this photo before I swapped out the keyboard and mouse for the cleaner ones)

Overall I am surprisingly really happy with how my installation turned out- the room is a really good, well lit space, with large windows, and it looks much better since I painted it, and swept and mopped it. I am also really pleased I was able to make the table top for free from scrap wood, as that saved me a lot of money, and I think it looks much better than the Ikea table tops do anyway. I decided to keep the trestle legs I got from the BA student black, as I liked the contrast (and also I’m lazy and painting over black paint with white would have been a nightmare) and I think it helps to break up all the white in the room. I had to ask my classmates to tell me the river Thames I painted into the table top looked fine, because otherwise I never would have stopped trying to touch it up and make it “perfect”. Considering I didn’t use masking tape or anything except the pencil outline and paint I think it came out well, and is fairly recognizable for what it is, without any need for labels or a more literal representation.

In terms of curating the objects for the exhibition I feel that I have chosen the right amount, and the right selection of materials- I was not able to get the aluminum pieces to a high enough standard, so they have been omitted, the other lot of glass wax pieces I made came out much less transparent and much milkier looking (due to the touch of blue wax I added to offset the yellowing that had happened from the glass wax being overheated) so I left those out and put in the first lot I made, which are much clearer and more transparent. I also left out the herculite casts as they were not up to standard, and are also still fairly fragile compared to the other materials, and I left out the iPad 3D prints, as the Einscan ones were of much higher quality.

In terms of the digital work on screen I am very happy with how it looks- I have chosen one of the larger bones that has a particularly interesting form for the audience to play with, and I feel that Meshmixer was a good choice of programme for the audience to use, as it is fairly simple programme to mess around on- hopefully people will use it and enjoy playing around! I made a 2 minute video, which is on one of my earlier posts, which shows how to move around the 3D model, how to zoom in and out, and some of the basic tools they can use on Meshmixer, in case anyone gets stuck, and this is on the Mac desktop, titled “How to Use”.

I have discussed this previously, but I chose the five bones that I did as the jaw bone pieces proved difficult to cast in some of the methods, so much so that I could not get a good cast of them in the herculite, or glass wax, so I decided not to include them at all. Also they are a bit less ambiguous than the other bones, so I felt it best to leave them out, as I like the ambiguity of the shapes of the other bones. Also I left out the brick, despite having cast it in herculite, glass wax, bronze, and aluminum, as I felt it looks odd to have 5 bones and then the brick by itself. This is a shame, as the casts of it are quite beautiful, but it would have stood out too much, so it was necessary.

when I think back I thought I would have recreated the rope, brick, plastic bottle, and driftwood in different materials like I did originally with the vacuum forming, for the final show. Unfortunately the rope and bottle became unusable after the vacuum forming, and the driftwood turned out to be quite complex to cast, so I never ended up doing it. The bones became my focal point quite by accident, as I found myself drawn to the shapes and textures of them when I first started experimenting with the macro lens back in the first term. I don’t regret this, because I feel like I have made a strong body of work, that I am very proud of.


Weekly Blog 01/07/19 – 03/07/19

river project

Monday 01/07/19

  • Did some more work on my aluminium pieces in the morning, but decided to leave them for now, to get my space ready as much as possible
  • I’m not sure if it will be doable to finish them in time, as the aluminium has proven much more difficult to work with than the bronze- most of the bones have holes where they shouldn’t where the metal shrunk in the mould, there are feathered bits and lumps where there shouldn’t be any and I’m having to work entirely with hand tools
  • I spoke to Ed about it, and he has offered to bring his dremel in tomorrow, so I may tackle them again once I have everything else set up


This slideshow requires JavaScript.

  • The rest of my day was spent prepping and installing, with Janet helping me sweep the space before I mopped it
  • I tested out my objects on the blank table (forgot to take a pic) and I have decided on:

– the bronzes- most people will not get to touch bronze sculptures in galleries, and they have a weight to them that is really pleasing to hold

– ceramics- the familiarity of ceramic dishware, but the precious nature of them being sculptures is an interesting dynamic

– pink silicone- it’s a really fun material to play with and handle, and adds a splash of colour

– glass wax- there is something both familiar and unfamiliar about this material that I find really fascinating, and I think the audience will too

– plastic 3D prints- plastic is a familiar material to us all, but these 3D prints are made with tech that not many of us get the chance to use currently, and I feel that is an interesting dynamic

  • When I laid these all out on the table I realised it didn’t leave enough room for the screen, so I have reverted to an earlier plan of the installation, with the Mac, keyboard, and mouse on top of two plinths, that I painted white today, against the back wall.
  • This also solves the health and safety issue of the Mac wire, as the plug socket is high up on the wall next to the Mac
  • I also filled the holes on my table and repainted it white today, before using a projector and my pre-made vector file of the river to draw the outlines of the river onto the table, before painting it blue
  • (Had to get the paint mixed specially in the DIY store today)


This slideshow requires JavaScript.

Tuesday 02/07/19

  • touched up the paint on the table a little bit, and got it up onto the trestle legs
  • worked some more on the aluminium pieces, but the dremel bit got instantly clogged with the aluminium, so I had to work with the files and saw again- they still aren’t up to my standards, but I have spent 3 days working on them and don’t have the time or willpower to finish them for the show, so they will not be featured
  • It’s a shame that I wasn’t able to get them finished to the standard I wanted, but I would prefer not to put them in, rather than put them in half finished- especially given the high standard that I have finished my other objects to
  • Close up photos of the bits that need fixing below


This slideshow requires JavaScript.

  • Downloaded Meshmixer onto the Mac I will be using in the exhibition today, and also made a 2 minute video demonstrating the basics of using Meshmixer- how to rotate the 3D model, how to zoom in and out, and some of the tools you can use on the programme and what they do- added below
  • This is on the Mac in my room, on the desktop, alongside the bone file, which will be open on Meshmixer onscreen for the audience to play with
  • All I need to do tomorrow is lay out my objects on the table top, and maybe try to find a cleaner keyboard and mouse for the Mac as the ones I have are very grubby and dirty looking- Jonathan is sorting out the stools for me
  • I also painted the edges of the table white today, so that it looks more professional than the raw mdf

This slideshow requires JavaScript.

  • Picked up the other two big bone 3D prints today but they ran out of filament half way through printing, so I have two half prints
  • It’s kind of interesting that you can see the internal structure- they aren’t solid, instead they are made up of a similar structure to the external supports, but more solid and closer together, to create a stronger structure

This slideshow requires JavaScript.

Wednesday 03/07/19

  • I have used the half finished big bone 3D prints to prop open the windows in my space- it’s very small and gets very stuffy, so if I want the audience to actually sit and interact with my work for any length of time the windows definitely need to be open!
  • The objects are laid out on the table, and as I have left the aluminum pieces out I do not need to put gloves on the table
  • Jonathan tracked down a cleaner mouse and keyboard for me, which I have set up in the space, and I have made the 3D bone model on Meshmixer full screen to encourage the audience to play with it, I just need the stools which Jonathan is tracking down, so otherwise my space is ready!


Selected Showcase Pitch

Assessment, river project, UNIT 2, Videos

Unknown Landscapes from Kat Outten on Vimeo.

Projecting onto 3D Bones TEST from Kat Outten on Vimeo.

The Pitch:

I want to expand my practice further into the digital and into installation work, and this piece will offer me the chance to try it out. I would like to move the moveable wall in the space to create a smaller, darker area for the installation, so that I can project my video onto a wall. I want to hang 4 of my large scale 3D prints from the ceiling, so that some of the projection falls onto the surfaces of the 3D prints. The video is made of clips of the bones that are the main focus of my primary project, shot with a macro lens close up, and the 3D prints are of the bones, but 363% larger. These are both explorations of the same objects utilising digital technology to render them unfamiliar.
I am aware that the exhibition is up all summer, and that you might have reservations about the projection, but I live less than 10 minutes walk from the uni, and also work nearby and I would happily leave contact details in case the projector goes wrong. The projector could be left on loop, and I have no holidays planned so I hope this won’t prevent you from choosing my work, as I would appreciate the chance to explore this new avenue in my work.


So I really want to take an older piece of digital work of mine, the Unknown Landscapes video, and project it onto the giant 3D printed bones I have made- I originally hoped to make a new video piece using my 3D scans and Blender, but my 3D scans weren’t loading on Blender at all, and I need to figure out why.

I think I need to push my digital skills further in the coming months, as when I finish the MA I am going to struggle to find workshops like we have at uni. I have already been looking at print making studios, ceramic studios, and foundries in London and asking for work experience/internships/trainee opportunities so that I can access certain facilities, but it may be some time before I find something like that or can afford to pay out for access to those facilities. Due to this I want to play around with digital work a little more, as it is more accessible- Meshmixer and Blender are free, and there is other free open source software I can try too- all I need to do is download them on my laptop and get myself a bigger desk so that I have a bit more space to work with. I know it will take time and practice, but at least I can still make work some how whilst I save up and look for affordable studio spaces and workshops. This work is an attempt to step into that, and give it a try.

Weekly blog 24/06/19 – 28/06/19

river project, UNIT 2, Weekly Summaries, Weekly To Do Lists, Work in Progress

Monday 24/06/19

  • I also picked up one of the big 3D printed bones, shown in the video below
  • The ceramic bones have been fired with the glaze on and I am really happy with how they turned out! The textures are really highlighted by the glaze, and they have that new ceramic sheen which is really satisfying to look at and to handle

This slideshow requires JavaScript.

  • Worked on the aluminium pieces- the dremels are all busted, so I tried using a different tool, but the aluminium was so soft that it clogged up the bit
  • Ended up using a saw, files, and sandpaper to work on them by hand instead- 3 of them just need to be worked into with the engraving tool, and the other 2 still need some work with the hand tools

This slideshow requires JavaScript.

Tuesday 25/06/19

  • Spent most of today painting and sorting out my space for the show- I just need to sweep and mop the floor and get the table and stools in and it is basically ready to go
  • got my table top cut in the wood workshop, and painted it with the first coat of white
  • grabbed the black trestle legs left behind by the BA students for my table

This slideshow requires JavaScript.

  • Picked up another of my large 3D prints- this one looks a lot smoother that the first one, but the technicians were not sure if it was due to using a different 3D printer, or the file type
  • Sent two more giant bones to print
  • Also discussed my Selected Showcase idea with Jonathan, and tested out projecting the video onto the 2 big 3D prints- I really like how it looks but it comes with a set of challenges I will discuss on a separate post

This slideshow requires JavaScript.

Friday 28/06/19

  • Spent the last two days very ill, but got back in today, and did some more work on my 3D prints, as the foundry and metal workshop were both shut

This slideshow requires JavaScript.

Weekly Blog 17/06/19 – 21/06/19

river project, UNIT 2, Weekly Summaries, Work in Progress

Monday 17/06/19

  • spent most the day working the BA degree show private view, so I didn’t have much time to do work
  • I did pick up my 3D printed bones, and worked on them a little though

This slideshow requires JavaScript.

Tuesday 18/06/19

  • Two of the 3D prints I collected yesterday need to be sent to print again, as the supports are where a lot of the detail was supposed to be, and as I remove the support I am also removing the detail, so I will send these to print again this week, and choose somewhere different for the supports to go- as shown in the photos below
  • to make the 3D printed bones look “finished” I have been using pliers, sandpaper, and files to get rid of the supports, and the marks left behind on the bones, although I haven’t been able to completely remove these traces, so I suppose it is just part of the nature of the material
  • the 3D prints are very light, much like the real bones, but feel pretty solid

This slideshow requires JavaScript.

  • the photo below shows the iPad 3D scan and print next to the Einscan 3D scan and print- the quality is vastly different, as you can see- the Einscan actually has the textural surface of the bone, and is much less pixelated looking than the much rougher iPad scan
20190620_140330.jpg

side by side of the iPad scan and Einscan

Thursday 20/06/19

  • I decided to try and work on the aluminum pieces today, but as I clamped one of them in the vice it cracked, and Lindsey had to help me seal the crack with aluminum filler and epoxy resin
  • This will need to be sanded down once the resin filler has dried

This slideshow requires JavaScript.

  • my ceramic bones have been biscuit fired, below is what they looked like once they had been fired, before I glazed them

20190620_113056


Friday 21/06/19

  • glazed my bones today- the photos below show the glazing process, and the bones once the glaze had dried and was ready to be fired again

This slideshow requires JavaScript.

  • to glaze the ceramic bones I had to first mix the glaze very thoroughly, then using the metal tool shown in the photo I had to clamp each bone and dip it into the glaze, shaking it gently to make sure the coating was even, then working the glaze into the textures of the bones with my finger and a brush
  • I then had to remove the glaze with a damp sponge anywhere that the surface of each bone touched the worktop- if you don’t do this, when the ceramic pieces are fired the glaze melts and sticks to the bottom of the kiln, which means the pieces will probably be destroyed when you try to remove them
  • I have circled the places I removed the glaze in red in the photos below to demonstrate

This slideshow requires JavaScript.