Weekly blog 24/06/19 – 28/06/19

river project, UNIT 2, Weekly Summaries, Weekly To Do Lists, Work in Progress

Monday 24/06/19

  • I also picked up one of the big 3D printed bones, shown in the video below
  • The ceramic bones have been fired with the glaze on and I am really happy with how they turned out! The textures are really highlighted by the glaze, and they have that new ceramic sheen which is really satisfying to look at and to handle

This slideshow requires JavaScript.

  • Worked on the aluminium pieces- the dremels are all busted, so I tried using a different tool, but the aluminium was so soft that it clogged up the bit
  • Ended up using a saw, files, and sandpaper to work on them by hand instead- 3 of them just need to be worked into with the engraving tool, and the other 2 still need some work with the hand tools

This slideshow requires JavaScript.

Tuesday 25/06/19

  • Spent most of today painting and sorting out my space for the show- I just need to sweep and mop the floor and get the table and stools in and it is basically ready to go
  • got my table top cut in the wood workshop, and painted it with the first coat of white
  • grabbed the black trestle legs left behind by the BA students for my table

This slideshow requires JavaScript.

  • Picked up another of my large 3D prints- this one looks a lot smoother that the first one, but the technicians were not sure if it was due to using a different 3D printer, or the file type
  • Sent two more giant bones to print
  • Also discussed my Selected Showcase idea with Jonathan, and tested out projecting the video onto the 2 big 3D prints- I really like how it looks but it comes with a set of challenges I will discuss on a separate post

This slideshow requires JavaScript.

Friday 28/06/19

  • Spent the last two days very ill, but got back in today, and did some more work on my 3D prints, as the foundry and metal workshop were both shut

This slideshow requires JavaScript.

Weekly To Do List 14/01/19

river project, UNIT 2, Weekly To Do Lists

Monday:

  • Morning – help prep sandpit and mould for the pour in the afternoon
  • 12pm- meet Adamina and experiment with 3D scanning and printing

Tuesday:

  • Morning- Glass wax cast the jaw pieces and redo the brick
  • Afternoon- start making silicone casts of bones

Wednesday:

  • I have work in the evening so I will probably rest during the day

Thursday:

  • 10am – 12pm Group tutorial
  • Continue casting in glass wax/silicone/polymer plaster (brick)
  • Work on aluminium bone casts?

Friday:

  • Photograph pieces so far
  • Continue working on presentation for 7th March

Glass Wax Tests 11/01/19

Photographs, river project, UNIT 2, Videos, Weekly Summaries, Work in Progress

This slideshow requires JavaScript.


Some photos taken of the process of casting with glass wax- the melting glass wax, the casts full of glass wax, and photos of the failed jaw bone casts and brick cast. Casting the brick hollow with glass wax is proving troublesome- the wax is very brittle and the sides of the cast keep breaking as I try to de-mould it. I will try one more time to cast it hollow but a bit thicker and if that doesn’t work I might have to cast it solid instead. The jaw bone pieces kept failing as the glass wax is too thick and not hot enough to flow all the way through the moulds- I will try to get it hotter next time, but I have to be careful in case the wax gets too hot and the colour changes.

Video demonstrating the properties of glass wax and the casting process.
I wanted to explore the properties and materiality of glass wax, and these are the results so far.
Clip 1: the chunk of unmelted glass wax, demonstrating what it looks like before it is melted and cast- you can see how the light refracts and passes through it.
Clip 2 and 3: the glass wax as it melts, showing the viscosity and how it stretches and flows much like real glass when in molten form. It is very different to other waxes I have used in the past.
Clips 4 and 5: the first attempts at casting the jaw bones in glass wax- as you can see the wax didn’t flow completely through the moulds as it was not hot enough and cooled too fast. I will try again but with the wax much hotter so hopefully it will flow through the moulds properly.
The rest of the clips: the other bone casts in glass wax.

This slideshow requires JavaScript.

These photos show the second attempt at casting the jaw bones in glass wax (still not hot enough), the glass wax casts all together, the broken hollow brick cast (the details were captured beautifully, it’s just a shame that the sides broke), and one of the glass wax casts lit by Jonathan’s phone torch- as an experiment to see how light travels through them. I think going forwards I would like to photograph the glass wax pieces with a light source beneath them like this, but using a more professional set up.

Notes on glass wax:

  • Properties- melts differently to waxes I have used in the past (i.e. the green and orange waxes used in uni, soy wax, paraffin wax, beeswax)
  • As it melts it goes quite stringy and is still very thick and viscous, can be stretched into glass-like threads that look like nylon thread
  • It sets VERY quickly and needs to be quite hot to pour well, but you have to be super careful not to overheat it as it can make the wax change colour
  • You can add oil paint as a pigment to glass wax, but I’m more interested in how it looks originally- like a translucent glass
  • I might do one or two in colour just to see what it looks like, but we’ll see
  • It is quite brittle- I tried to make a hollow brick cast and the sides shattered (like glass) as I tried to remove the cast- if I retry this I will need to make it thicker
  • It picks up detail really beautifully and I’m definitely impressed
  • I need to redo the jaw bones in glass wax as the wax wasn’t hot enough and as a result didn’t flow through the moulds properly


Practical Work To Do List

river project, Weekly Summaries, Work in Progress
  • Buy saucepan for glass wax
  • Use existing moulds to make glass wax casts
  • Use existing moulds to make jesmonite casts (plaster casts didn’t work)
  • Finish bronzes and aluminium casts
  • Go back to riverbank and find plastic bottle (and other things?)
  • Cast bottle in foundry (?)
  • Use existing moulds to use eco resin? – Speak to Jonathan in 3D
  • Find 3D scanning/printing place and look into costs

I would like to get as much of this done by January as pos, so I can start casting my objects in Ceramics in the 2nd term

Cleaning Plaster From the Casts

Photographs, river project, Videos, Work in Progress

20180703_122623

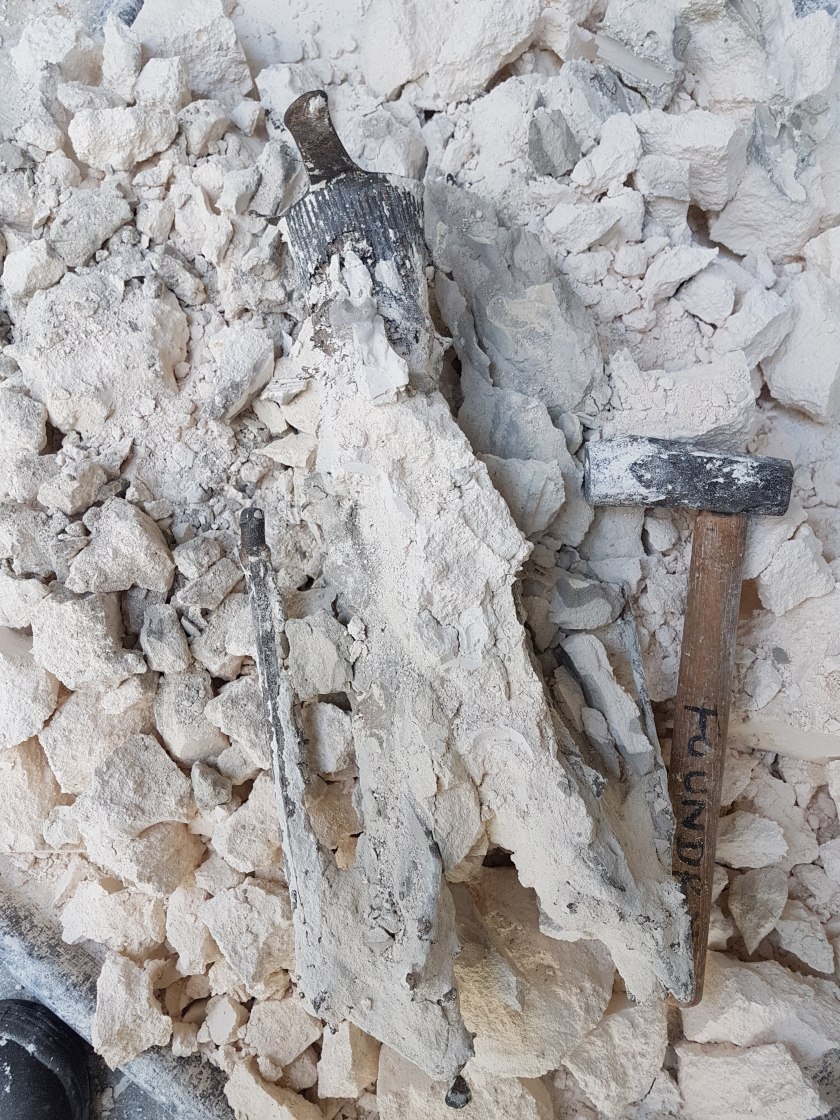
Once the moulds had been poured and removed from the sandpit they next stage was to cut off the plaster coating, with a saw, and then smash open each mould with a mallet. The above photo shows one of the bronze casts, mid smashing. The aim was to remove as much of the plaster as possible, which was then smashed and ground up into powder, to be reused for further mould making.

This video shows part of the clean up process- once the casts had been removed from the mould, the rest of the plaster still needed to be removed from around the casts. It has been sped up by about 250%, as the original video was 20 minutes long, and I wasn’t sure if anyone would want to watch it! As they were too big to be secured in a clamp at this point I had to secure them with pieces of brick, so that they were stable enough to use the hammer and chisel on.

This slideshow requires JavaScript.

Once I had gotten rid of as much plaster as possible with the hammer and chisel I tried to cut off some of the runners and risers using an angle grinder, which shook some more of the plaster loose. Before I could cut any more of the excess metal off I had to take them down to the print making studios and blast them with the pressure hose, not pictured because I got very wet!

Health and Safety: I had the extractor fan on, and wore gloves, a visor, ear protection, a dust mask and an apron

Casting the Jawbone

Photographs, river project, Work in Progress

This slideshow requires JavaScript.

Casting the jawbone raised a host of issues that I didn’t realise would be a problem, but hopefully it will work out in the end. Before we could make a hot rubber mould of the jawbone Becky (the technician) and I decided to make a plaster cast of the jaw, as we felt it would be too fragile to make a hot rubber mould from directly.

STEPS

  1. Before we could begin casting I had to fill in the holes in the jaw (where the rest of the teeth originally were) with soft wax, so that it would be easier to cast. I also used a little superglue to secure the two teeth- we were worried that they may have come out of the jaw when we de-moulded it, so this was a preventative measure.
  2. I then pressed the jaw carefully into some clay and built up clay walls around it, and then applied a few layers of vegetable oil to the jaw to help release it from the mould once the alginate had set
  3. I mixed up a small amount of quick set alginate which I poured into the clay mould and left to set
  4. Once this had set I carefully removed the clay and rinsed the jaw and alginate, before greasing it up with more oil, and building up clay walls around it
  5. Another batch of quick set alginate was then poured over this, and left to set
  6. The clay was then removed, and the two halves of the mould separated and the jaw carefully removed.
  7. After cleaning both halves of the mould I fit them together and secured them with elastic bands, and was then ready to pour fine casting plaster into it
  8. The first attempt didn’t work very well and only the thickest section of the jaw came out, so for the second attempt after pouring in the plaster I moved the mould around to encourage the plaster to flow through the whole mould
  9. Once I opened the mould up I realised one half had not worked out, and the other half, where all the detail was, was too thin- to fix this I cut up scrim and layered that and some more plaster on top of it until it was thicker and stronger
  10. I then de-moulded it and created a hot rubber mould from that plaster cast. Because the detail was lost on one side I decided to make a flat mould, rather than a round one that needed to be cut open, to save materials
  11. The final photo on the slideshow is of the original jaw, first failed plaster cast, second plaster cast, and de-moulded wax cast of the jaw- as you can see there are a lot of details that need to be worked back into the wax by hand, but I am confident that it is doable