Weekly blog 24/06/19 – 28/06/19

river project, UNIT 2, Weekly Summaries, Weekly To Do Lists, Work in Progress

Monday 24/06/19

  • I also picked up one of the big 3D printed bones, shown in the video below
  • The ceramic bones have been fired with the glaze on and I am really happy with how they turned out! The textures are really highlighted by the glaze, and they have that new ceramic sheen which is really satisfying to look at and to handle

This slideshow requires JavaScript.

  • Worked on the aluminium pieces- the dremels are all busted, so I tried using a different tool, but the aluminium was so soft that it clogged up the bit
  • Ended up using a saw, files, and sandpaper to work on them by hand instead- 3 of them just need to be worked into with the engraving tool, and the other 2 still need some work with the hand tools

This slideshow requires JavaScript.

Tuesday 25/06/19

  • Spent most of today painting and sorting out my space for the show- I just need to sweep and mop the floor and get the table and stools in and it is basically ready to go
  • got my table top cut in the wood workshop, and painted it with the first coat of white
  • grabbed the black trestle legs left behind by the BA students for my table

This slideshow requires JavaScript.

  • Picked up another of my large 3D prints- this one looks a lot smoother that the first one, but the technicians were not sure if it was due to using a different 3D printer, or the file type
  • Sent two more giant bones to print
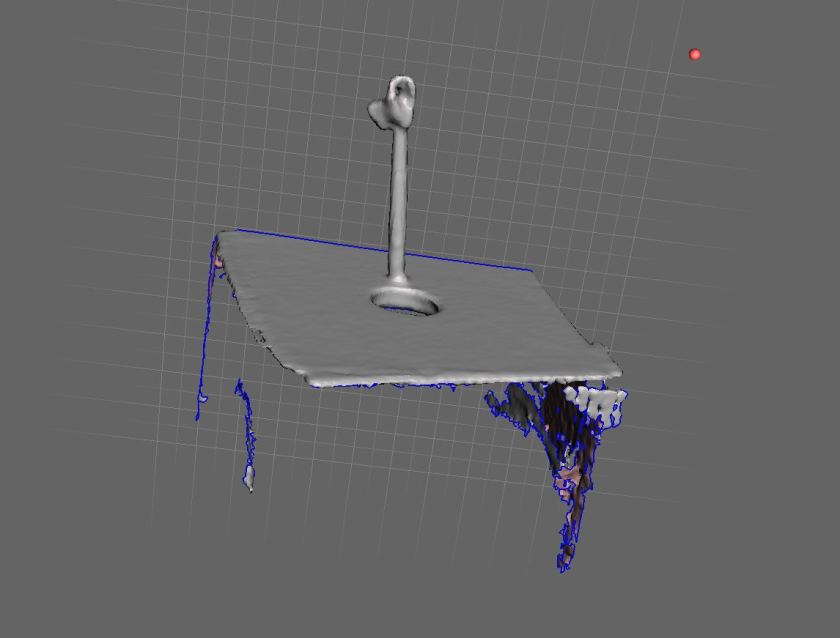
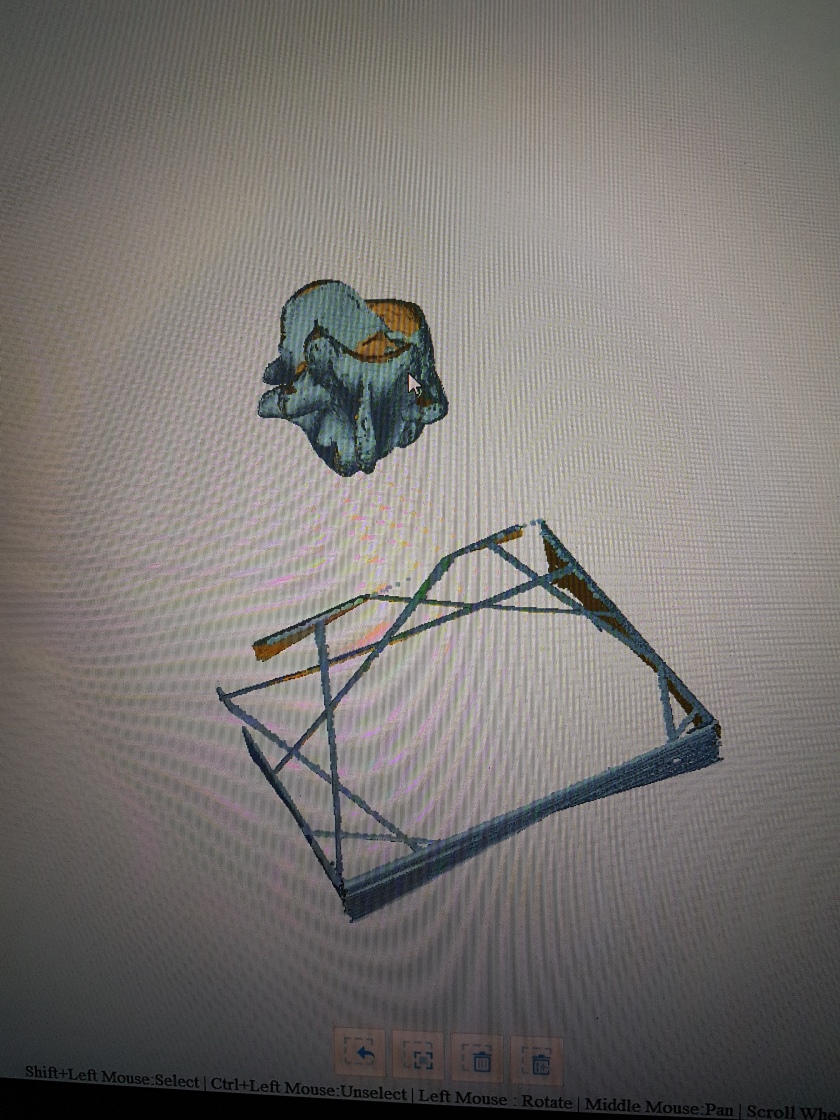
  • Also discussed my Selected Showcase idea with Jonathan, and tested out projecting the video onto the 2 big 3D prints- I really like how it looks but it comes with a set of challenges I will discuss on a separate post

This slideshow requires JavaScript.

Friday 28/06/19

  • Spent the last two days very ill, but got back in today, and did some more work on my 3D prints, as the foundry and metal workshop were both shut

This slideshow requires JavaScript.

3D scanning with Einscan

river project, UNIT 2, Videos, Weekly Summaries, Work in Progress

I mentioned this new 3D scanning available in the 3D workshop briefly in my weekly summary post, but I thought I should probably do a separate post for it, as it is a really exciting piece of kit that I have learnt to use.

This slideshow requires JavaScript.

The Einscan is a piece of kit and accompanying software for 3D scanning, which Jonathan (tutor) mentioned was now available for use in the 3D workshop during our one to one tutorial. You start by setting up the software and kit, by calibrating it- you put the calibration stand onto the turntable, and follow the instructions on the software- rotating the removable board as shown on screen so that the dots align. You rotate the board three times, and in-between each one the turntable rotates it 360 degrees to calibrate the camera. Jonathan (technician) explained that the scanner builds the 3D model by sending out beams of light across the object- the way the light bends around the object is then captured and is used to build the model. Once it was calibrated we used a glue gun to attach the bone to a clear plastic rod embedded in a small piece of wood, much like when I 3D scanned with the iPad and with the photogrammetry- the rod acting as a support. Most of the bones had to be scanned twice, with the bone moved into a different position and glued before being scanned the second time. Jonathan then showed me how to match the two scans up on the software to produce the finished model. (he showed me this on Thursday last week, which is why I ended up with the mutant bone scan, as I didn’t know how to match the two scans up).

I still have one more bone to scan, and possibly one to redo, but I have made really quick progress with this and I’m really happy with how the scans are coming out! As you can see from the video, the details and texture are being picked up much better than they were with the iPad, although not quite as well as the photogrammetry- however this has a much higher success rate and is much faster, so I think the prints I get from these scans will probably be the final ones I put in the show, which is very exciting! I really want to play with these scans on blender- maybe animating them in some way, and I would also like to play around with scale if I have time- printing them as small as possible, and as large as possible. If I have time for these experiments, and if they go well, I am considering applying for the Selected Showcase at our end of year show- I envision displaying a short animation of the digital 3D models, or perhaps a few still images, alongside some huge and tiny 3D prints of the bones.

To Do: 
– Scan the last bone
– clean the scans up on Meshmixer
– send the scans to print


Experimenting with Meshmixer 05/06/19

UNIT 2, Videos, Work in Progress

Meshmixer Sped up Test from Kat Outten on Vimeo.

After my first attempt editing an iPad scan of my bone didn’t go so well (you could see where I dragged the mesh, and this was visible on the 3D print) I was a bit hesitant to try again. This video was originally a 5 and half min screen cap of some playing around with another bone scan, to get a feel for the tools and how the programme works, which I sped up to 2 mins. You can see me trying different tools and playing with softening the shape, which I didn’t end up keeping.

screen cap bone 2 ipad.JPG

This screenshot shows the bone before any editing was done- the raw scan.

I feel a little more confident to use Meshmixer now, and I plan on cleaning the rest of the iPad bone scans up, just to see how the shapes have turned out.

This slideshow requires JavaScript.

Weekly blog 03/06/19 – 07/06/19

Photographs, river project, UNIT 2, Videos, Weekly Summaries, Work in Progress

Monday 03/06/19

  • Took moulds from foundry down to Ceramics studio and started testing them out
  • The clay is much softer than anticipated- I am used to more solid materials such as the wax, so de-moulding has proven more difficult- the clay loses shape as soon as you try to pull it out of the moulds
  • I found leaving the clay in the moulds to dry a little helped, but not much
  • I only managed to get one clay bone finished; I had to do a lot more work to it than I was used to doing with the wax to get it to look right, using the real bone for reference

This slideshow requires JavaScript.

  • I also popped into the 3D workshop to chat about the new scanner with the technician, Jonathan, and ended up doing a scan of one of my bones then and there

This slideshow requires JavaScript.

Tuesday 04/06/19

  • I booked out the photography studio last week for this morning, to photograph all my sculptures so far, with the help of Richard, the technician
  • Ended up coming back after lunch and staying there til 3.30ish, as some pieces proved trickier to photograph

This slideshow requires JavaScript.

  • I took 360 pics of all the pieces except for the two brick casts and the bronze casts, and I plan to animate them into little gifs for my website
  • I learnt a lot about how to light different shapes and materials, which I hope I can try to mimic at home with a flexible desk lamp, fabric, and a white table or sheet- Richard definitely taught me that you don’t always need the fancy equipment available at uni
  • Didn’t get time to go to ceramics again, as planned, so I went to the 3D workshop to do more 3D scans instead
  • I ended up with a few fixable scans, and one mutant scan- I scanned it twice at two different angles, but the software stitched it together wrong, giving me a mutant bone

20190604_164439(0).jpg

Wednesday 05/06/19

  • Made progress on remaking my Symposium video (I lost the entire thing because the programme I was using crashed)
  • Had to go to work in the evening

Thursday 06/06/19

  • Morning group tutorial- we discussed show details and I am happy with the space I have been allocated
  • Edited one of the iPad bone scans and sent it to print
  • Made some more progress on remaking the symposium video

Friday 07/06/19

  • Visited Jonathan in 3D and scanned the bones that went wrong on Tuesday- he showed me how to do multiple scans and match them up to get a better 3D model
  • I have one bone left to scan- I just need to do that and clean up the scans on MeshMixer and they will be ready to 3D print

3D scanning photogrammetry

UNIT 2, Videos, Weekly Summaries, Work in Progress


The set up for photogrammetry is the same as for scanning with an iPad, as you can see from the set up photos above. Much like the iPad you need to capture a full 360 of the object you are scanning, however the process takes longer, and is harder to get right. You have to take around 50 images of the object, moving very slowly around it as you photograph, making sure to keep the camera the same distance from the object and the same angle as you do it. These photos then get uploaded into a programme called Autodesk Recap Photo, which stitches your photos into a 3D model.

The images included above are of one of the first attempts to scan one of the bones using this technique- unfortunately the back of the bone didn’t come out.

the video above shows what I mean better- although the detail has been captured beautifully, only half of the bone has come out as a 3D model. I tried a few times with no more success than that, and the software takes a long time to make the model only to find out that it hasn’t worked. I might need to find another method of 3D scanning, as the iPad scans lack the detail that I want, but photogrammetry is proving to be really difficult!


3D Scanning using iPad 14/01/19

river project, UNIT 2, Videos, Weekly Summaries, Work in Progress

This video is of the Digital Media Technician Adamina demonstrating how to use the 3D scanning software and piece of kit for an iPad. This is one of the more basic 3D scanning techniques available, and as you can see the scan hasn’t picked up the details of the bone, only the rough shapes.

The next step for me is to install a free programme called MeshMixer and cut off the pen, as it came up in the scan, and seal up the piece. Then it will be ready to be 3D printed on Monday next week.

This slideshow requires JavaScript.

These photos show the set up in the studio, including white backdrop, plinth, and lighting set up. We suspended the bone from nylon wire so that we could scan the whole object, and used a pen and blueback underneath it for stability- we needed it to be still for the scanning to work.

Next Steps:

  • download MeshMixer and clean up the scan for printing
  • meet with Adamina next Monday (I have booked an appointment with her) and send the scan to print
  • hopefully next week we will also experiment with photogrammetry, which she mentions in the video. This process is a bit more lengthy and complicated- I will have to borrow a camera and lens from uni, and photograph the object multiple times from multiple angles, and then upload these photos to a specialist programme that stitches everything together to create a 3D model. This will take a fair bit of time, and I might still need to work into the objects on the software to clean them up before we can send them to the 3D printer