Scans of notes taken in group tutorials on the above dates

Scans of notes taken in group tutorials on the above dates
This short clip shows how I have been using an electric engraving tool to work details back into the surface of the brick wherever it was lost due to the casting process. The shiny parts are where I have used an angle grinder or Dremel tool previously to get rid of runners, risers, and other imperfections on the surface of the bronze. I have to take frequent breaks when using these tools, and swap hands often, as the vibration from the tool makes my wrists ache, but otherwise it is fairly simple to use. As always I follow safety protocol, wearing a visor, ear protection, dust mask, and gloves to protect myself, as well as having the extractor fan on and handling all tools safely and responsibly.
Some blind contour studies done in Leicester Square whilst waiting to meet a friend
Video of my work in the show, including close up clips of each finished bronze piece, and a clip of the whole display.
The two photos above show the set up for the exhibition, and one of the visitors interacting with my objects. The back row of objects are the real bones that each bronze was cast from, with the cast displayed in front of each one. I chose this format as I wanted to see whether viewers would be more likely to pick up the bones or the bronze casts, and i wanted it to have an almost museum-like feel to the display. I did put in the artwork description “Please Touch Me” but as it wasn’t very visible not many visitors did pick up or interact with the objects like I wanted. As well as the label not being very visible I also feel that the gallery space, as a concept, probably contributed to the lack of interaction- in most galleries and museums the audience is highly discouraged, if not prohibited, from touching the artworks. This is something I am very much against, and want to challenge with my work, so going forwards I think I need to make it clearer to the audience that they can and should pick up and touch my work. I will probably do this through larger and clearer signage, but I will have to see what happens at our next show, and what is possible with the space we have.
The feedback I got from people who did pick up and touch my work was overwhelmingly positive- I was asked about my walks and how/where I collected the objects, I was questioned about the process of casting, and about the ideas behind the project. Although my display was simple I was very pleased with how it looked, and I thought that it fit well with my classmates work, although our work was quite different nothing looked out of place and it was visually cohesive. I did find it difficult to stay in the room for more than five minutes at a time though, due to the combination of sounds from my classmates work. It was quite overwhelming so I found myself frequently wandering around the other spaces in the exhibition whilst invigilating.
A patina can refer to the natural colouration that happens over time to bronze, as the copper in the alloy reacts to oxygen, or it can refer to a man-made process where a chemical mixture is heated onto the surface of the bronze, to achieve different colours and effects. I am referring to the man-made process, and the above video shows foundry technician Becky Stevenson demonstrating how to apply a patina to one of my bronze pieces.
I then replicated what she had shown me, and once the pieces had cooled down I then applied two coats of wax, by hand using a cloth, to each piece to seal the colour.
This was definitely one of the more fun parts of the whole casting process! It was a chance to experiment and play with the different colours and effects that the application of heat and layering of the patina could achieve and I am super happy with how they turned out!
The photos above show the process and tools used for this stage of the project. As you can see I used a clamp to keep the casts in place whilst cutting and grinding off excess metal using a Dremel and angle grinder. I had to remove the cup, and all of the runners, risers and wax channels as they had all been cast in metal. This was hard work as the studio has been reaching 35 degrees Celsius, so I had to take frequent breaks and stay hydrated. On a few occasions the technicians closed the workshop completely as it was too hot to work in, and on other occasions I did the work in the metal workshop rather than the foundry as it was a few degrees cooler.
As well as removing excess metal I also used the Dremel and an engraving tool to work back in details that had been lost in the casting process, such as holes in some of the bones, and textures where they had been lost.
It took a bit of practice for me to get to grips with using a Dremel and angle grinder, as I had limited experience with only a Dremel, previously. However throughout this stage I learnt very quickly how to handle both tools properly and effectively, and I am really proud of myself for it- I have always been a bit scared of electric power tools but I pushed myself and am really pleased with how far I’ve come.
The video shows the bronzes and aluminium pieces still attached to each other by the runners and risers, and then each bronze bone once I had finished working on them. As you can hear me say in the video I’m not 100% happy with each piece; I feel that the pieces of jaw both need a bit more work to add back in lost details around the teeth, and one of the bones in particular I want to go back and work into further as I am not happy with the hole (I broke two Dremel heads trying to fix it) or with some of the texturing on one side. However due to time constraints I had to move on to the patina stage, so that I would have some finished pieces to put in the end of year show.
Unfortunately I only had time to finish the bronze bones, so both brick casts and all of the aluminium bones will have to be finished when I get back from the Summer break. I am a bit disappointed by this, but the casting process is incredibly time consuming, and I want each piece to be the best it possibly can be, so I am trying not to beat myself up over not getting everything finished.
Once the moulds had been poured and removed from the sandpit they next stage was to cut off the plaster coating, with a saw, and then smash open each mould with a mallet. The above photo shows one of the bronze casts, mid smashing. The aim was to remove as much of the plaster as possible, which was then smashed and ground up into powder, to be reused for further mould making.
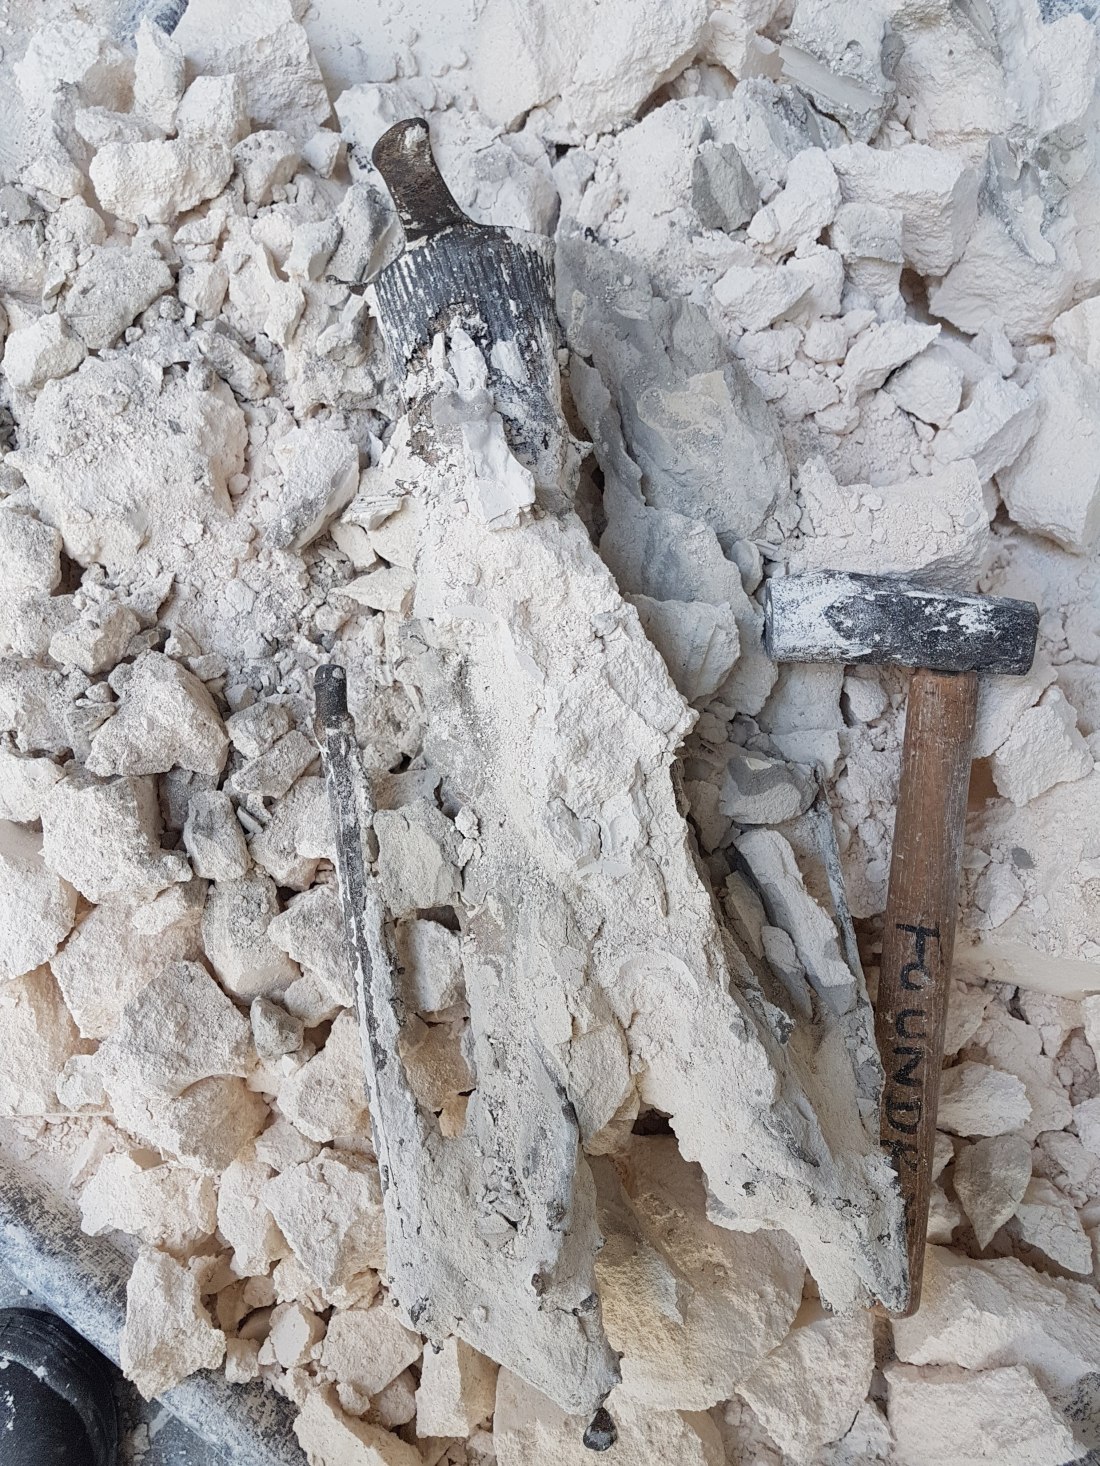
This video shows part of the clean up process- once the casts had been removed from the mould, the rest of the plaster still needed to be removed from around the casts. It has been sped up by about 250%, as the original video was 20 minutes long, and I wasn’t sure if anyone would want to watch it! As they were too big to be secured in a clamp at this point I had to secure them with pieces of brick, so that they were stable enough to use the hammer and chisel on.
Once I had gotten rid of as much plaster as possible with the hammer and chisel I tried to cut off some of the runners and risers using an angle grinder, which shook some more of the plaster loose. Before I could cut any more of the excess metal off I had to take them down to the print making studios and blast them with the pressure hose, not pictured because I got very wet!
Health and Safety: I had the extractor fan on, and wore gloves, a visor, ear protection, a dust mask and an apron
Before the moulds could be fired in the kiln, Becky removed the plastic from the outside (that we had used to make the moulds, as seen in previous posts, and the brick video). We then had to cover the sides and bottom of each mould with layers of scrim coated in plaster, to create a protective barrier to stop the plaster moulds falling apart in the kiln- four of us did this, and I didn’t take any photos as it was very messy! But you can see the moulds with their plaster coating in the above photos. The moulds then went into the kiln upside down, as you can see in the photos. They go in upside down so that as the mould is heated and the wax inside melts it will flow out of the mould, leaving empty spaces where the metal will then be poured.
The next step was to vacuum the insides of the moulds to ensure they were free of debris, ready for the pour. Once this had been done the moulds were ready to be winched into place using the pulley system in the foundry, and set up in the sandpit ready for the pour.
The video shows the technicians winching one of the moulds into place, I kept out of the way for this part as I hadn’t done it before and wanted to watch and make sure I knew how to do it for the next moulds. I then had to dig the moulds in, making sure the sand was packed in closely around each mould to ensure stability for the pour. To keep the moulds clear each one had a piece of wood placed over the top.
This was definitely one of the more arduous parts of the process- it took five of us to do the plaster coating, and four of us to get the moulds from the kiln into the sandpit, as each one was incredibly heavy and fragile. I was careful to follow all instructions from the technicians to make sure nothing went wrong!
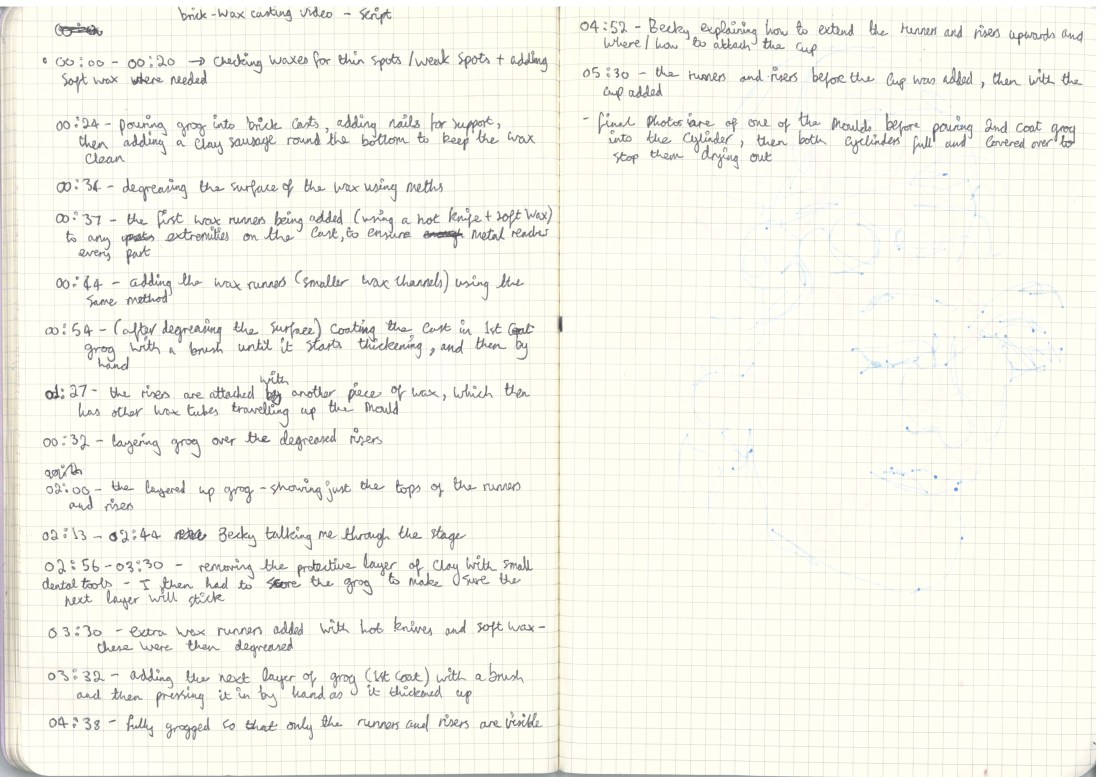
A scan of the rough script/plan I wrote up for my brick casting video, so that I knew what I wanted to say when recording the audio- I should have done this for my midpoint review video but I didn’t, so look at me, learning from my mistakes and stuff! #growth
I was worried that the process might be unclear from the step-by-step and photo posts, so whilst making the brick moulds in July I recorded video clips, as well as taking photos, to better showcase the lengthy process behind casting in metal in the foundry.
This video shows the process of putting the wax bricks into plaster moulds, ready to be fired in the kiln. This stage was the lengthiest part of the whole process, and shows at least 3 weeks worth of work in the foundry- whilst waiting for layers to dry I was also working on the wax bones and prepping those using the same process, to make the best use of my time.
Unfortunately some of the clips are poorer quality than others as they hadn’t automatically backed up on my Google Photos, so I had to download them from my Instagram instead. Going forwards I am going to be much more careful about backing up my documentation. I was also a bit under the weather at the time of recording the audio for this video, so I am a little bit breathy, and stumble on my words a bit, which I have tried my best to edit out. This is actually the 3rd attempt at making this video, as the first and second time it didn’t save properly, but 3rd time’s the charm!
On another note, I am deeply sad that Becky, the foundry technician, has moved to teach at Chelsea as we got on really well and she has helped me a LOT with this project. Good luck at Chelsea Becky, we’ll (I’ll) miss you!
