Practical Work To Do List

river project, Weekly Summaries, Work in Progress
  • Buy saucepan for glass wax
  • Use existing moulds to make glass wax casts
  • Use existing moulds to make jesmonite casts (plaster casts didn’t work)
  • Finish bronzes and aluminium casts
  • Go back to riverbank and find plastic bottle (and other things?)
  • Cast bottle in foundry (?)
  • Use existing moulds to use eco resin? – Speak to Jonathan in 3D
  • Find 3D scanning/printing place and look into costs

I would like to get as much of this done by January as pos, so I can start casting my objects in Ceramics in the 2nd term

Applying the Patina

river project, Videos, Work in Progress

A patina can refer to the natural colouration that happens over time to bronze, as the copper in the alloy reacts to oxygen, or it can refer to a man-made process where a chemical mixture is heated onto the surface of the bronze, to achieve different colours and effects. I am referring to the man-made process, and the above video shows foundry technician Becky Stevenson demonstrating how to apply a patina to one of my bronze pieces.

I then replicated what she had shown me, and once the pieces had cooled down I then applied two coats of wax, by hand using a cloth, to each piece to seal the colour.

This was definitely one of the more fun parts of the whole casting process! It was a chance to experiment and play with the different colours and effects that the application of heat and layering of the patina could achieve and I am super happy with how they turned out!

Removing Excess Metal from the Casts

river project, Videos, Work in Progress

This slideshow requires JavaScript.

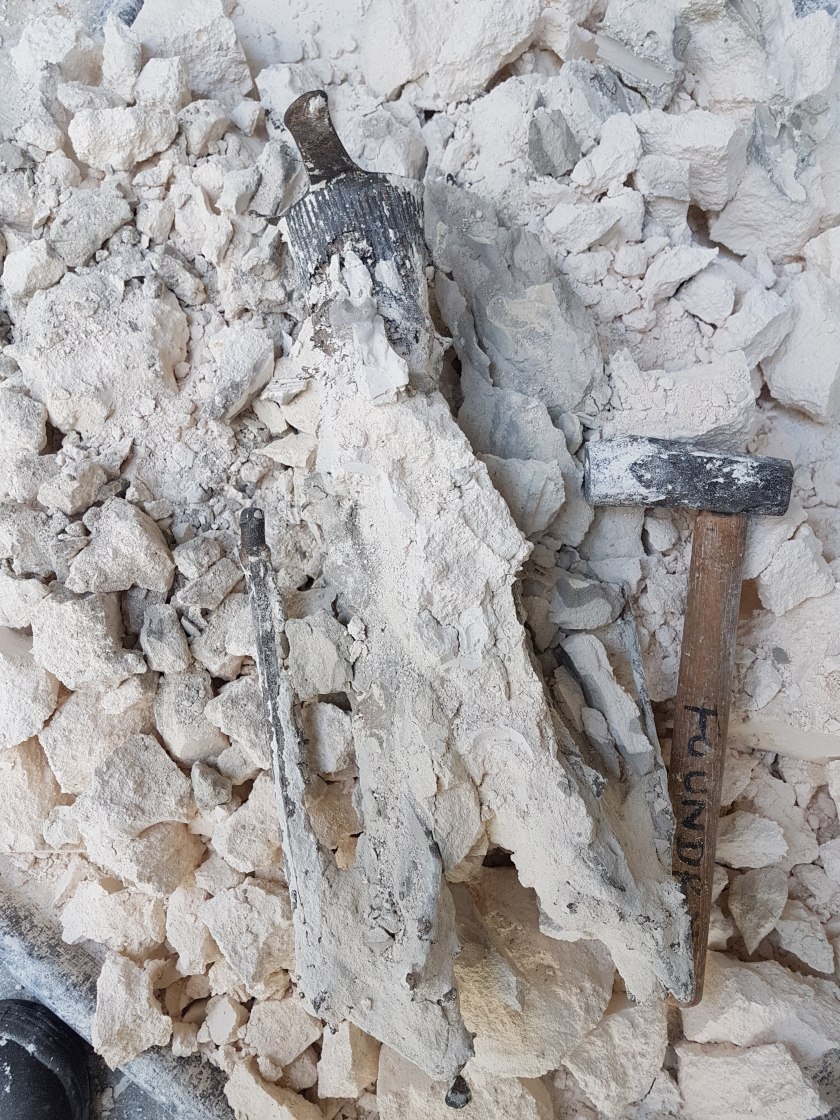
The photos above show the process and tools used for this stage of the project. As you can see I used a clamp to keep the casts in place whilst cutting and grinding off excess metal using a Dremel and angle grinder. I had to remove the cup, and all of the runners, risers and wax channels as they had all been cast in metal. This was hard work as the studio has been reaching 35 degrees Celsius, so I had to take frequent breaks and stay hydrated. On a few occasions the technicians closed the workshop completely as it was too hot to work in, and on other occasions I did the work in the metal workshop rather than the foundry as it was a few degrees cooler.

As well as removing excess metal I also used the Dremel and an engraving tool to work back in details that had been lost in the casting process, such as holes in some of the bones, and textures where they had been lost.

It took a bit of practice for me to get to grips with using a Dremel and angle grinder, as I had limited experience with only a Dremel, previously. However throughout this stage I learnt very quickly how to handle both tools properly and effectively, and I am really proud of myself for it- I have always been a bit scared of electric power tools but I pushed myself and am really pleased with how far I’ve come.

Before and After Clean Up Bronzes from Kat Outten on Vimeo.

The video shows the bronzes and aluminium pieces still attached to each other by the runners and risers, and then each bronze bone once I had finished working on them. As you can hear me say in the video I’m not 100% happy with each piece; I feel that the pieces of jaw both need a bit more work to add back in lost details around the teeth, and one of the bones in particular I want to go back and work into further as I am not happy with the hole (I broke two Dremel heads trying to fix it) or with some of the texturing on one side. However due to time constraints I had to move on to the patina stage, so that I would have some finished pieces to put in the end of year show.

Unfortunately I only had time to finish the bronze bones, so both brick casts and all of the aluminium bones will have to be finished when I get back from the Summer break. I am a bit disappointed by this, but the casting process is incredibly time consuming, and I want each piece to be the best it possibly can be, so I am trying not to beat myself up over not getting everything finished.


Cleaning Plaster From the Casts

Photographs, river project, Videos, Work in Progress

20180703_122623

Once the moulds had been poured and removed from the sandpit they next stage was to cut off the plaster coating, with a saw, and then smash open each mould with a mallet. The above photo shows one of the bronze casts, mid smashing. The aim was to remove as much of the plaster as possible, which was then smashed and ground up into powder, to be reused for further mould making.

This video shows part of the clean up process- once the casts had been removed from the mould, the rest of the plaster still needed to be removed from around the casts. It has been sped up by about 250%, as the original video was 20 minutes long, and I wasn’t sure if anyone would want to watch it! As they were too big to be secured in a clamp at this point I had to secure them with pieces of brick, so that they were stable enough to use the hammer and chisel on.

This slideshow requires JavaScript.

Once I had gotten rid of as much plaster as possible with the hammer and chisel I tried to cut off some of the runners and risers using an angle grinder, which shook some more of the plaster loose. Before I could cut any more of the excess metal off I had to take them down to the print making studios and blast them with the pressure hose, not pictured because I got very wet!

Health and Safety: I had the extractor fan on, and wore gloves, a visor, ear protection, a dust mask and an apron

Prepping the Moulds for the Kiln/Setting up for the Pour

river project, Videos, Work in Progress

This slideshow requires JavaScript.

Before the moulds could be fired in the kiln, Becky removed the plastic from the outside (that we had used to make the moulds, as seen in previous posts, and the brick video). We then had to cover the sides and bottom of each mould with layers of scrim coated in plaster, to create a protective barrier to stop the plaster moulds falling apart in the kiln- four of us did this, and I didn’t take any photos as it was very messy! But you can see the moulds with their plaster coating in the above photos. The moulds then went into the kiln upside down, as you can see in the photos. They go in upside down so that as the mould is heated and the wax inside melts it will flow out of the mould, leaving empty spaces where the metal will then be poured.
The next step was to vacuum the insides of the moulds to ensure they were free of debris, ready for the pour. Once this had been done the moulds were ready to be winched into place using the pulley system in the foundry, and set up in the sandpit ready for the pour.

The video shows the technicians winching one of the moulds into place, I kept out of the way for this part as I hadn’t done it before and wanted to watch and make sure I knew how to do it for the next moulds. I then had to dig the moulds in, making sure the sand was packed in closely around each mould to ensure stability for the pour. To keep the moulds clear each one had a piece of wood placed over the top.

This was definitely one of the more arduous parts of the process- it took five of us to do the plaster coating, and four of us to get the moulds from the kiln into the sandpit, as each one was incredibly heavy and fragile. I was careful to follow all instructions from the technicians to make sure nothing went wrong!